 fr
fr


 Agrandir l'image


Vitre écran tactile compatible Sony Xperia Go st27i
PMFR1510
Nouveau
Touch screen glass compatible with the Sony Xperia Go st27i
Videos

Fiche technique
| Pré-encollage de la vitre : | Non : Pas systèmatique : Il faut soit recupérer l'ancien, soit acheter de l'adhésif "quart de rouleaux 2mm" |
| Pour quel type de panne ? | Problèmes typiques du Tactile : Défaut de sensibilité tactile, le pavé ne répond pas mais l'image fonctionne bien, impossible de saisir le code PIN, écran qui reste figé sur le logo lors du démarrage. |
En savoir plus
Compatible spare parts touch screen glass to repair my Sony Xperia Go st27i
Because this product has a very high durability and we have maximum confidence in it, we extend its warranty to 2 years, so you can buy it with your eyes closed!
Express tutorial:
We offer a quick tutorial to get an idea of the overall repair below. You also have access to a Sony Xperia GO repair tutorial for free in the guides sections, complete and more detailed (especially in the photos).
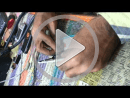
Start with the basic operations, preparation of the phone (protection) backup, remove battery cover Sim card and SD ect ..
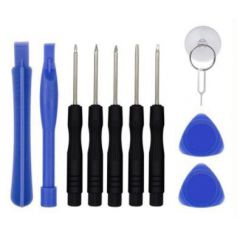
There are 8 screws of 2 types to unscrew. Note the locations so as not to reverse.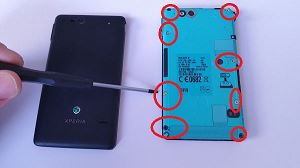
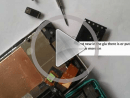
Before opening the rear frame, be careful to see that there will always be two large cables attached, you must be careful when opening. The rear frame is easier to unclip on the lengths. 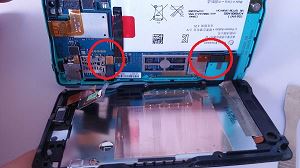
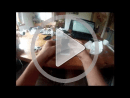
You can then heat to 250 °, beware the LCD fears beyond 180 ° see below, do not heat too close or too long.
Attack by the part at the top left of the glass. 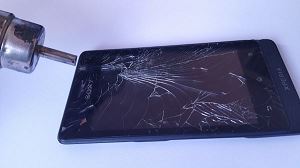
As you advance your spatula, continue heating, as you cannot heat very hard or for long, so you will need to alternate quickly. Keep the spatula in an extended position, so as not to scratch the LCD.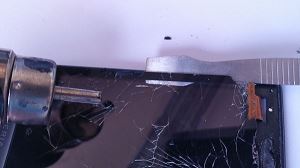
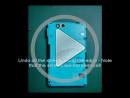
You can then place the window but first, remember to clean all the glue residue and also place the glass tablecloth in its place before removing any film.
Do not hesitate to use the film protecting the glass on the LCD side to clean the dust on the LCD by static electricity.
Then place the glass in its place and take good care of the bonding so as not to create any extra thickness. 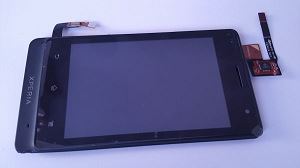
When you reassemble the screen unit on the motherboard unit, remember to reassemble the two cables previously removed. These are simple pins. 
And here is your St27i is like new!
Blog
Les clients qui ont acheté ce produit ont également acheté...


Accessoires
Délais de livraison
Commandez avant 14 h
soyez livré entre 30/04 et le 03/05/26
Délai avec Suivi GRATUIT +infos modes de transport